Introduction
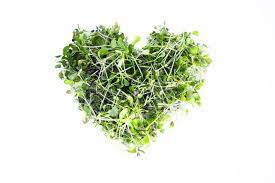
Microgreens have taken the culinary world by storm, thanks to their intense flavors, vibrant colors, and incredible nutritional value. If you’re passionate about growing microgreens and want to take it to the next level, learning how to properly harvest, store, and even sell your microgreens can be a fulfilling and potentially profitable endeavor. In this comprehensive guide, we’ll walk you through the steps to ensure your microgreens reach their full potential from seed to sale.
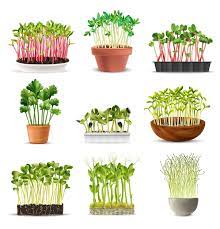
Harvesting Microgreens:
Harvesting microgreens at the right time is crucial to ensure the best flavor and nutritional content. Here’s how to do it:
Timing: Microgreens are typically ready for harvest between 7 to 21 days after planting, depending on the variety. Harvest them when the first true leaves appear, typically at 1 to 2 inches in height.
Tools: Use clean, sharp scissors or a knife for precision. Ensure that your tools are sanitized to prevent contamination.
Technique: Hold the microgreens near the soil’s surface and cut them just above the soil level. This minimizes soil contamination and allows for regrowth in some cases.
Cutting Patterns: Harvest entire trays or sections, or trim individual microgreens, depending on your preferred method.
Handle with Care: Microgreens are delicate; handle them gently to avoid damage.
Storing Microgreens:
Proper storage is essential to maintain the freshness and quality of your microgreens.
Cleaning: Gently wash your freshly harvested microgreens to remove any residual soil or contaminants. Dry them thoroughly using paper towels or a salad spinner.
Storage Containers: Use airtight containers or resealable bags for storage. Ensure they’re clean and dry.
Storage Temperature: Store your microgreens in the refrigerator at a temperature of 32-40°F (0-4°C) to extend their shelf life. Maintain consistent humidity levels to prevent wilting.
Shelf Life: Microgreens can remain fresh for 5-10 days when stored properly. However, their shelf life may vary depending on the variety.
Selling Microgreens:
If you’re interested in selling your microgreens, there are several avenues to explore:
Local Farmers’ Markets: Setting up a booth at a local farmers’ market is a great way to connect with your community and sell your fresh microgreens. Ensure your display is appealing and that you have proper labeling.
Restaurants and Cafes: Many restaurants and cafes are interested in sourcing fresh, local microgreens. Reach out to establishments in your area and discuss potential partnerships.
Subscription Boxes: Consider creating subscription boxes for customers who want a regular supply of microgreens. This can provide a steady source of income.
Online Sales: Establish an online presence by setting up a website or using platforms like Etsy to sell your microgreens.
Local Grocery Stores: Approach local grocery stores and co-ops to see if they’d be interested in stocking your microgreens.
Community Supported Agriculture (CSA): Join or create a CSA to distribute your microgreens to local members on a regular basis.
Social Media: Use social media platforms to promote your microgreens and connect with potential customers.
Compliance and Regulations:
Before selling microgreens, research and comply with local food safety regulations and labeling requirements. This may include obtaining necessary permits and adhering to packaging and labeling guidelines.
Conclusion:
Harvesting, storing, and selling your microgreens can be a rewarding journey that allows you to share the fruits of your labor with others while potentially generating income. By following the proper procedures and exploring different avenues for sales, you can turn your passion for microgreens into a thriving and fulfilling endeavor. Happy harvesting and selling!